Creating A Branch Page
It is assumed that you have already created at least one leaf page. It would be better if you have created several leaf pages.
A branch page allows the user to select one of up to six other pages. These can be any type of page.
If you have not already done so, run the MIK Editor and open your kiosk system.
Select ‘New Branch Page’ from the Edit menu.
A new window will appear like the one shown below.
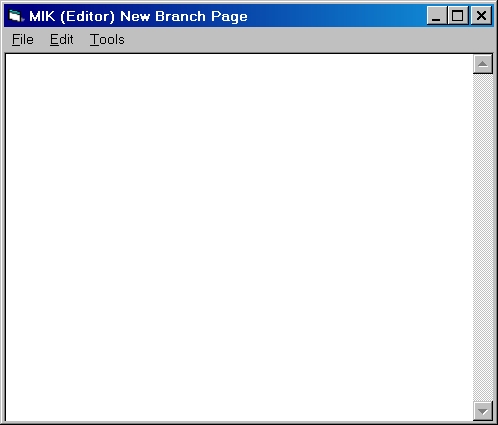
You will use this new window to create your first branch page. In fact, you already have. It's not very interesting, but it is a branch page!
On this window select ‘Save, Make & View’ from the File menu. This is just the same as you did when creating a leaf page.
A window will appear like the one shown below and it will fill the whole screen. Remember you need to type the letter z on the keyboard to "kill" the page and return to the Editor.
Just like a leaf page, you can also interact with your page by pressing 1 for the top button (Home), 2 for the second button and so on, down to 8 for the bottom button (Back). As your page stands at the moment, it is possible not much will happen, but you may get some error messages appearing on the screen.
All pages should have a title at the top, so add one now. Again, this is just the same as for a leaf page. You could also add some paragraphs and images.
Typically, a branch page will contain a title, a single large image and a single paragraph explaining what to do with the buttons.
Note that unlike a leaf page there are no ‘Up’ or ‘Down’ buttons and no scroll bar. The user has no way to scroll down a branch page, so if your content is "too big" for the window the user will not be able to see it.
Unfortunately, there can be a problem here if the computer monitor you are using to create the branch page is a different size from those used in the actual physical kiosk system. If your branch page is "nearly full" you should consult your Kiosk Manager.
The branch page introduces another directive - the button directive. Button directives can be placed anywhere in the page (except in the middle of a paragraph), but it is probably best to put them immediately after the title directive.
You can type in all the elements of this directive yourself, but it's much easier to use the tool provided. Place the cursor at the end of the title directive and then select ‘Insert Button...’ from the Tools menu. A window will appear like the one shown below.
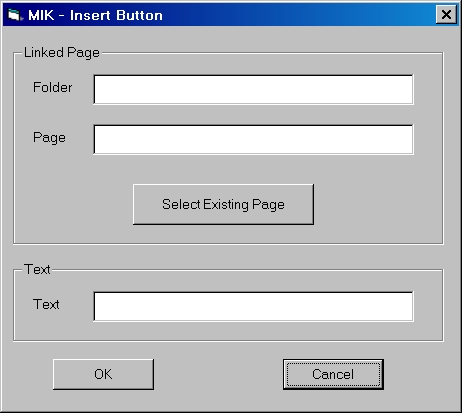
You need to fill in the Folder, Page and Text boxes. The Folder and Page boxes together specify which page is linked to this button. That is the page that will be displayed when the user clicks on the button you are now creating. The Text box specifies what will appear on the button.
You can type directly into the Folder and Page boxes, but if you have already created the page you want to link to this button, you should click on the ‘Select Existing Page’ button. A window will appear like the one shown below.
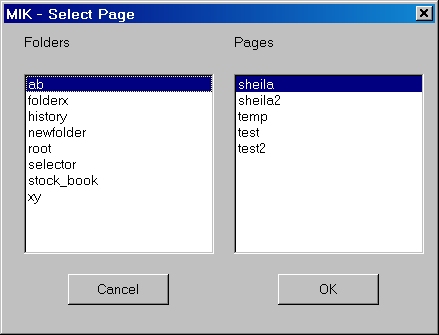
Click on a folder name in the left hand column and the right hand column will show you which pages currently exist in that folder. Click on a page name to select a specific page. Then click on ‘OK’ button. The window will close.
The window headed "MIK - Insert Button" will now show the folder and page that you have selected.
You must fill in the Text box yourself.
When you click on the ‘OK’ button, the program will check that the folder and page you have entered have valid names. It does not check that the page exists. This allows you to create branch pages with buttons that link to pages you have not yet created. However, when you try to make a page with a button linked to a non-existent page you will be warned.
The MIK Editor will let you insert as many buttons as you like, but only the first six will be visible to the user. When you try to make a page with more than 6 buttons you will be warned.
The top button will always be "Home" and the bottom button will always be "Back". You can not change this.